Beginner’s Guide to Setting Up WordPress on a Free Hosting (No Coding Needed) Hosting for free gives you the chance to run WordPress without having to part with the pennies in your pocket. It offers a basic platform for beginners. No coding skills are required to get started. A good win-win option is hosting free for new websites such as blogs. It allows one to test and learn without the financial risk.
This explanation includes primarily why one may choose a WordPress free hosting plus, what kind of service is on offer It covers the benefits and limitations of free hosting. Get to put your site online with step-by-step guidance.
Choosing the Right Free Hosting Provider
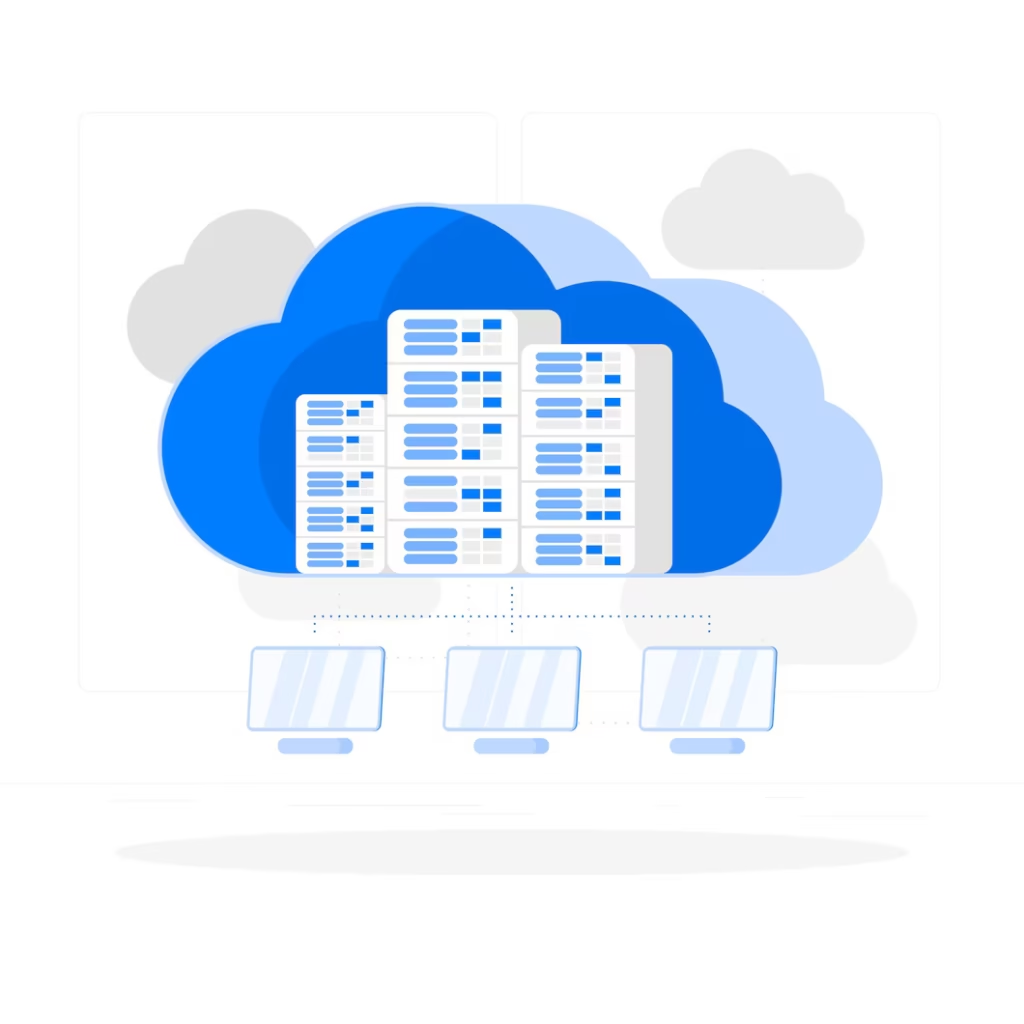
The Web hosting service that you choose to install WordPress on will make all the difference in the process and the result. Look for a provider that has high uptime good storage and is easy to use with WordPress, if not too techno-savvy, and looking to set up a WordPress blog. A good host should also have basic security features to keep your site safe.
Read Also https://learnonline.click/how-to-optimize-wordpress-for-speed-without-plugins-step-by-step-guide/
Not all free hosting services are equal. Some may have slow speeds, limited support, or forced ads. Comparisons can be made based on performance, safety, and user experience. If one chooses wisely, not only will he be able to avoid a lot of hassle, but the WordPress hosting will be an even better experience overall.
Registering for Free Hosting
Beginner’s Guide to Setting Up WordPress on a Free Hosting (No Coding Needed) The act of signing up for free hosting is straightforward and rapid. Find a reputable hosting provider, go to their homepage, and open an account. User is engaged by many platforms to sign up as they ask such basic information like name, email address, etc.
By signing up you can use the hosting panel to look after your website. Here’s what you can do:
- Install WordPress with a single click.
- Manage domains and subdomains.
- Check storage and bandwidth limits.
- Access basic security settings.
Setting Up a Free Domain or Subdomain
The domain name is a basic sign of your website. Choose a very short, relevant, easy-to-memorize name. Most of the time, free web hosting providers will give you a subdomain as your website (for example, yoursite.host.com), while a few will allow you to use your domain and only give limited features.
Once you log into your hosting dashboard, search for domain settings to connect the domain to your hosting account. Transfer the DNS settings for a custom domain, which gives it control over receiving nameservers of the hosting. Subdomains can be simply created and linked by your hosting provider. Following the completion of the creation stage, your WordPress site shall be ready to go live.
Installing WordPress with One-Click Installer
Setting up WordPress on free hosting is simple with the one-click installer. To test this formula, we must create the auto installation as promised. Simple Go to your file and pick a free subdomain. Settings and nameserver configurations and then just wait for the load time. While the installation is in progress, the admin user account password should be created and considered.
- Create a strong username (avoid admin for security).
- Set a secure password to protect your site.
- Enter your email for password recovery.
As soon as you’ve done installing it sign in to your WordPress dashboard and you’re good to go toward designing your website.
Configuring Basic WordPress Settings
After installation of WordPress, the first step is going to be to set the basics. You can go to the General Settings page, and complete or update the Site Title, optional Tagline, and Time Zone settings. It defines the identity of a website and also throws a user-experience-boosting treat. Adjust your media settings to optimize image sizes and storage.
Create SEO-friendly URLs by using Permalinks. Go to Settings>Permalinks and select something like “Post Name” structure so readers can enjoy a better understanding. Manage user and role administration under Users in the dashboard. Create roles such as Admin, Editor, or Subscriber to manage access and security.
Choosing and Installing a Theme
The design of your webpage is identified by your WordPress theme. You may choose from free themes offered in the WordPress repository or you may proceed with the acquisition of a paid theme that offers additional features as well as support. As wallpaper is just a large image on the website, modification options are fairly limited.
For theme installation, tap on Appearance>Themes on WP, and then click “Add New,” choose the concept you like, and upload it. Once you have activated it, customize it in “Appearance > Customize”; you may change colors, fonts, and layout to match your style.
Essential Plugins for a Beginner Website
Plugins are coding-free tools that allow you to add additional features according to your desire on your WordPress site. As a novice, it is good for you to think about selecting some basic security, speed, and SEO plugins. Do not use anything that might potentially slow it down. Its process must remain as minimal and flush as possible for the time being.
Here are some must-have plugins:
- SEO Plugin (Yoast SEO) – Helps improve search rankings.
- Security Plugin (Wordfence) – Protects against hackers and malware.
- Caching Plugin (WP Super Cache) – Speeds up your site.
- Backup Plugin (UpdraftPlus) – Keeps your data safe.
- Contact Form Plugin (WPForms) – Makes it easy to collect inquiries.
Install plugins from Plugins > Add New, activate them, and configure the settings as needed.
Creating Your First Page and Blog Post
Beginner’s Guide to Setting Up WordPress on a Free Hosting (No Coding Needed) Construct a static content page and a blog post with regular updates in WordPress.Usually, pages have purposes like Home, About, and Contact, while articles are for reports, blogs, or stories. To create a page, go to the Pages > Add New tab, insert a title and body text, and finally hit the Publish button.
- Go to Posts > Add New in the dashboard.
- Write the content, and the headings and images will be used to format it.
- Use categories and tags to organize your posts.
- Click Publish, and your post will go live.
Optimizing Your WordPress Website
A User-friendly website optimized with better loading time is known as one that has the minimum to the maximum optimization for a responsive and fast loading time. Start by using a lightweight theme and compressing images to reduce load time. Adjust permalinks, media settings, and caching for smoother performance.
For further optimization:
- Allow caching to increase loading speed
- Optimize images with TinyPNG or another tool.
- A CDN will offer fast access to resources internationally.
- Keep WordPress, themes, and plugins updated to ensure security and performance.
Launching and Maintaining Your Website
And the launch of your WordPress Full Site Editor setup. Every bit of work done up into design, content, and everything else in between should be checked again for the last time; even mobile responsiveness needs to be done. Before going live, test the speed of your site and be assured that it puts a hand in making the user experience smooth.
For ongoing maintenance:
- Always update the WordPress website with the available updates to the themes and plugins.
- There is an advantage of backup for subsequent use.
- An entity for operational efficiency is formed through the utilization of tools like Google Analytics.
- Repair broken links and optimize their content for SEO.
Final Thoughts
Establishing an online presence by setting up a WordPress website on free hosting is one of the most common ways to start. Having the right hosting provider, boosting performance, and utilizing tools commonly used, make a website good enough to meet the needs of the users. Setting up well is to guarantee a smooth experience for you and your visitors.
Keep an eye on keeping the site maintained properly, and updated with fresh content coupled with keeping it secure. To grow the online presence, and improve site speed, SEO, and user experience. You need to switch to higher-end hosting for better performance and reliability as your website grows.